A Journey Through the Utah Mighty 5: Zion National Park
This September, my husband and I decided on the journey through the Utah Mighty 5 as our long vacation. The Mighty 5 are the five National parks in Southern Utah - Arches, Canyonlands, Capitol Reef, Bryce Canyon and Zion. Our trip was a total of 8 days, and we opted to travel from east (Arches National Park) to west (Zion). During this post, I’ll replay our time during the fifth and FINAL park, Zion National Park!
One thing to note: of course, we couldn’t see and do everything in every park. And maybe there are some things I would have done differently…instead of calling these “regrets”, I’ll call them “Notes for next time!” and post them at the bottom at the bottom of each post.
Photography Equipment I used at Zion:
About Zion National Park
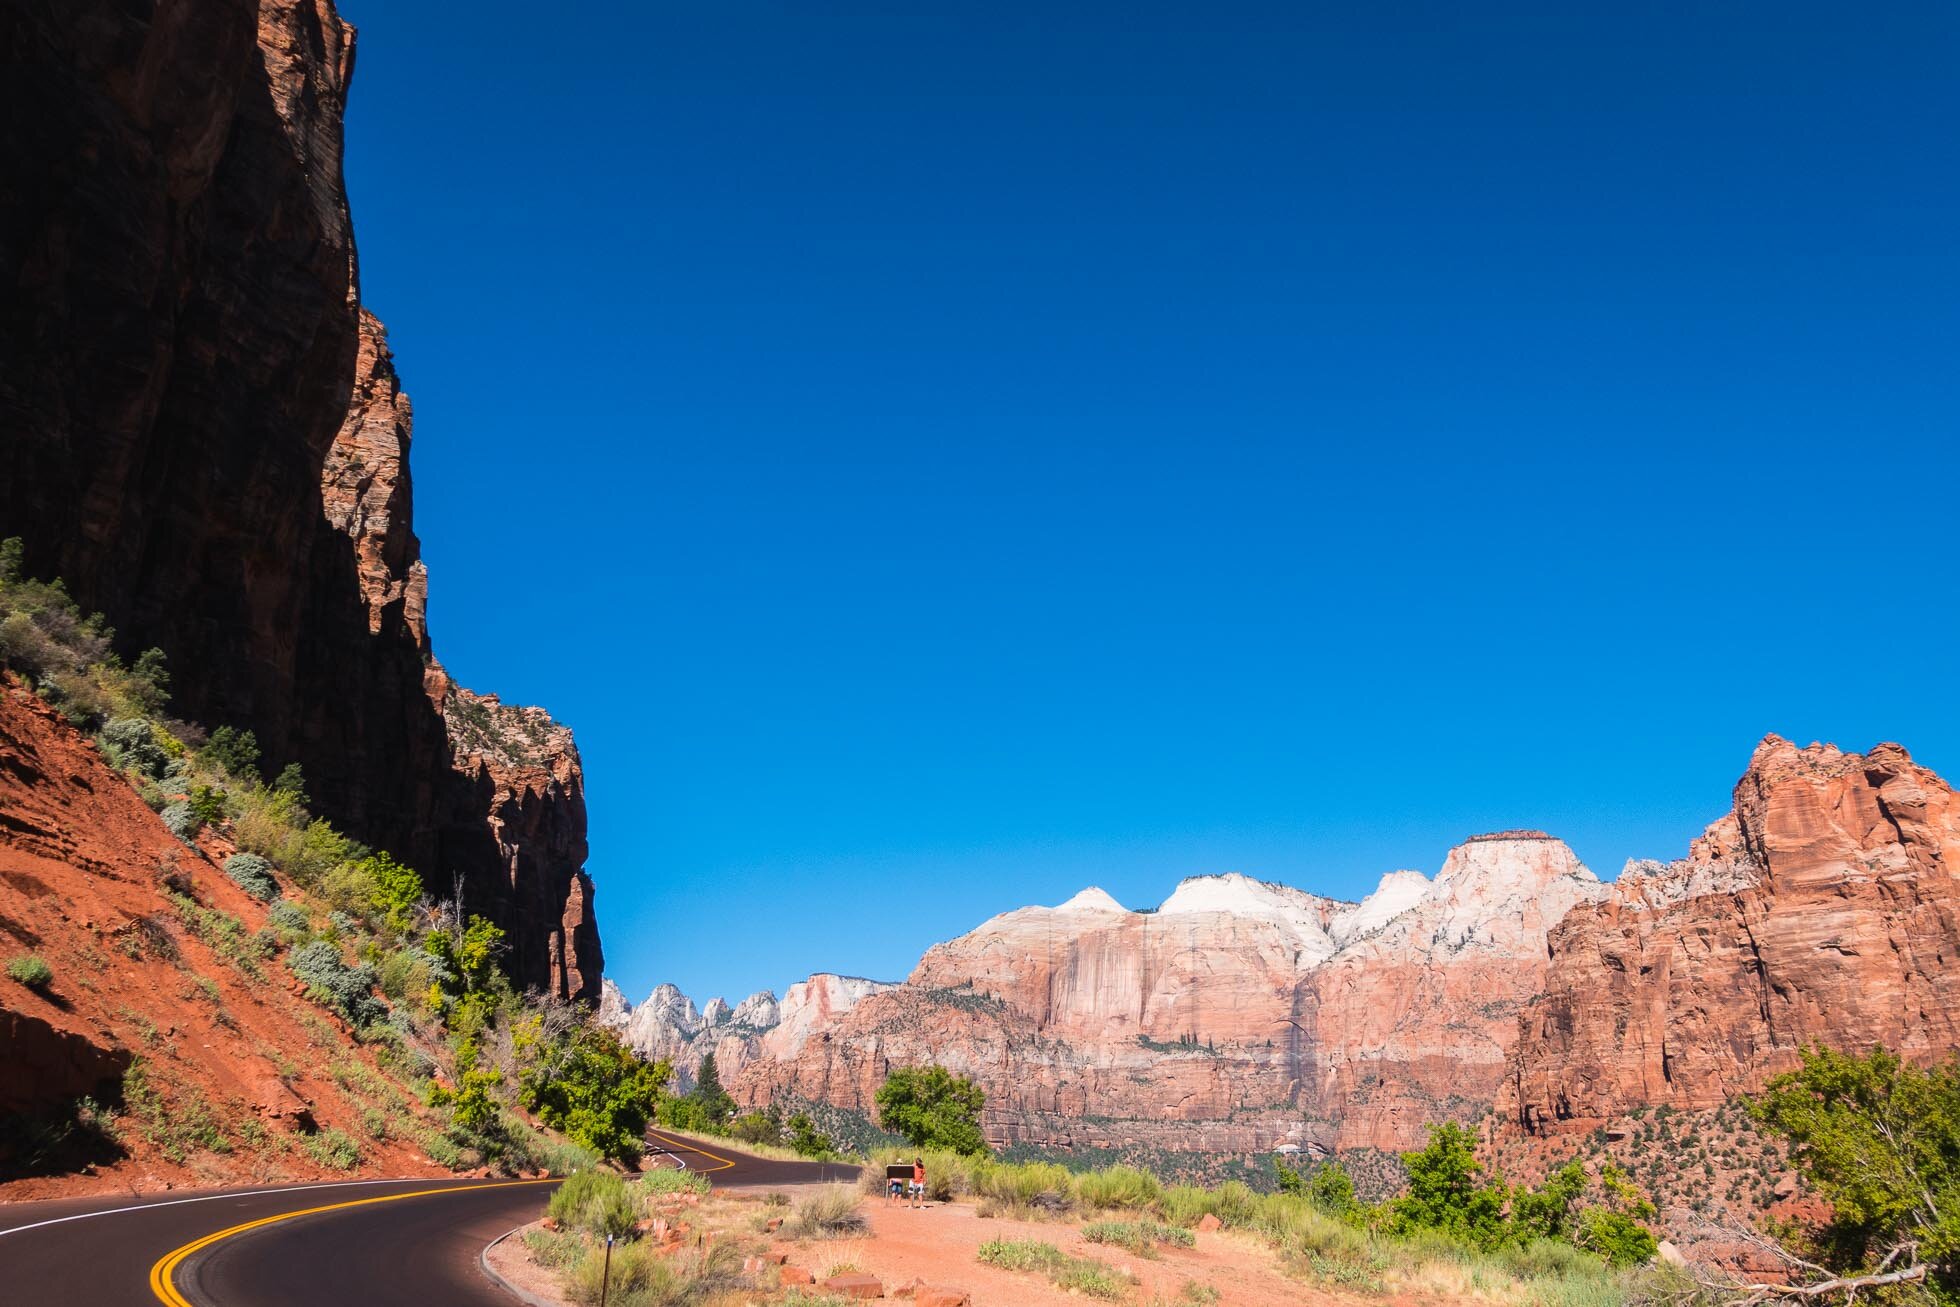
Zion is Utah’s first National Park and is made of up 2,000 foot cliffs made of sandstone. The plant life is more diverse than any other national park in Utah, and it includes a variety of water features, including a crystal-clear river.
Mighty 5 Day 6: Afternoon
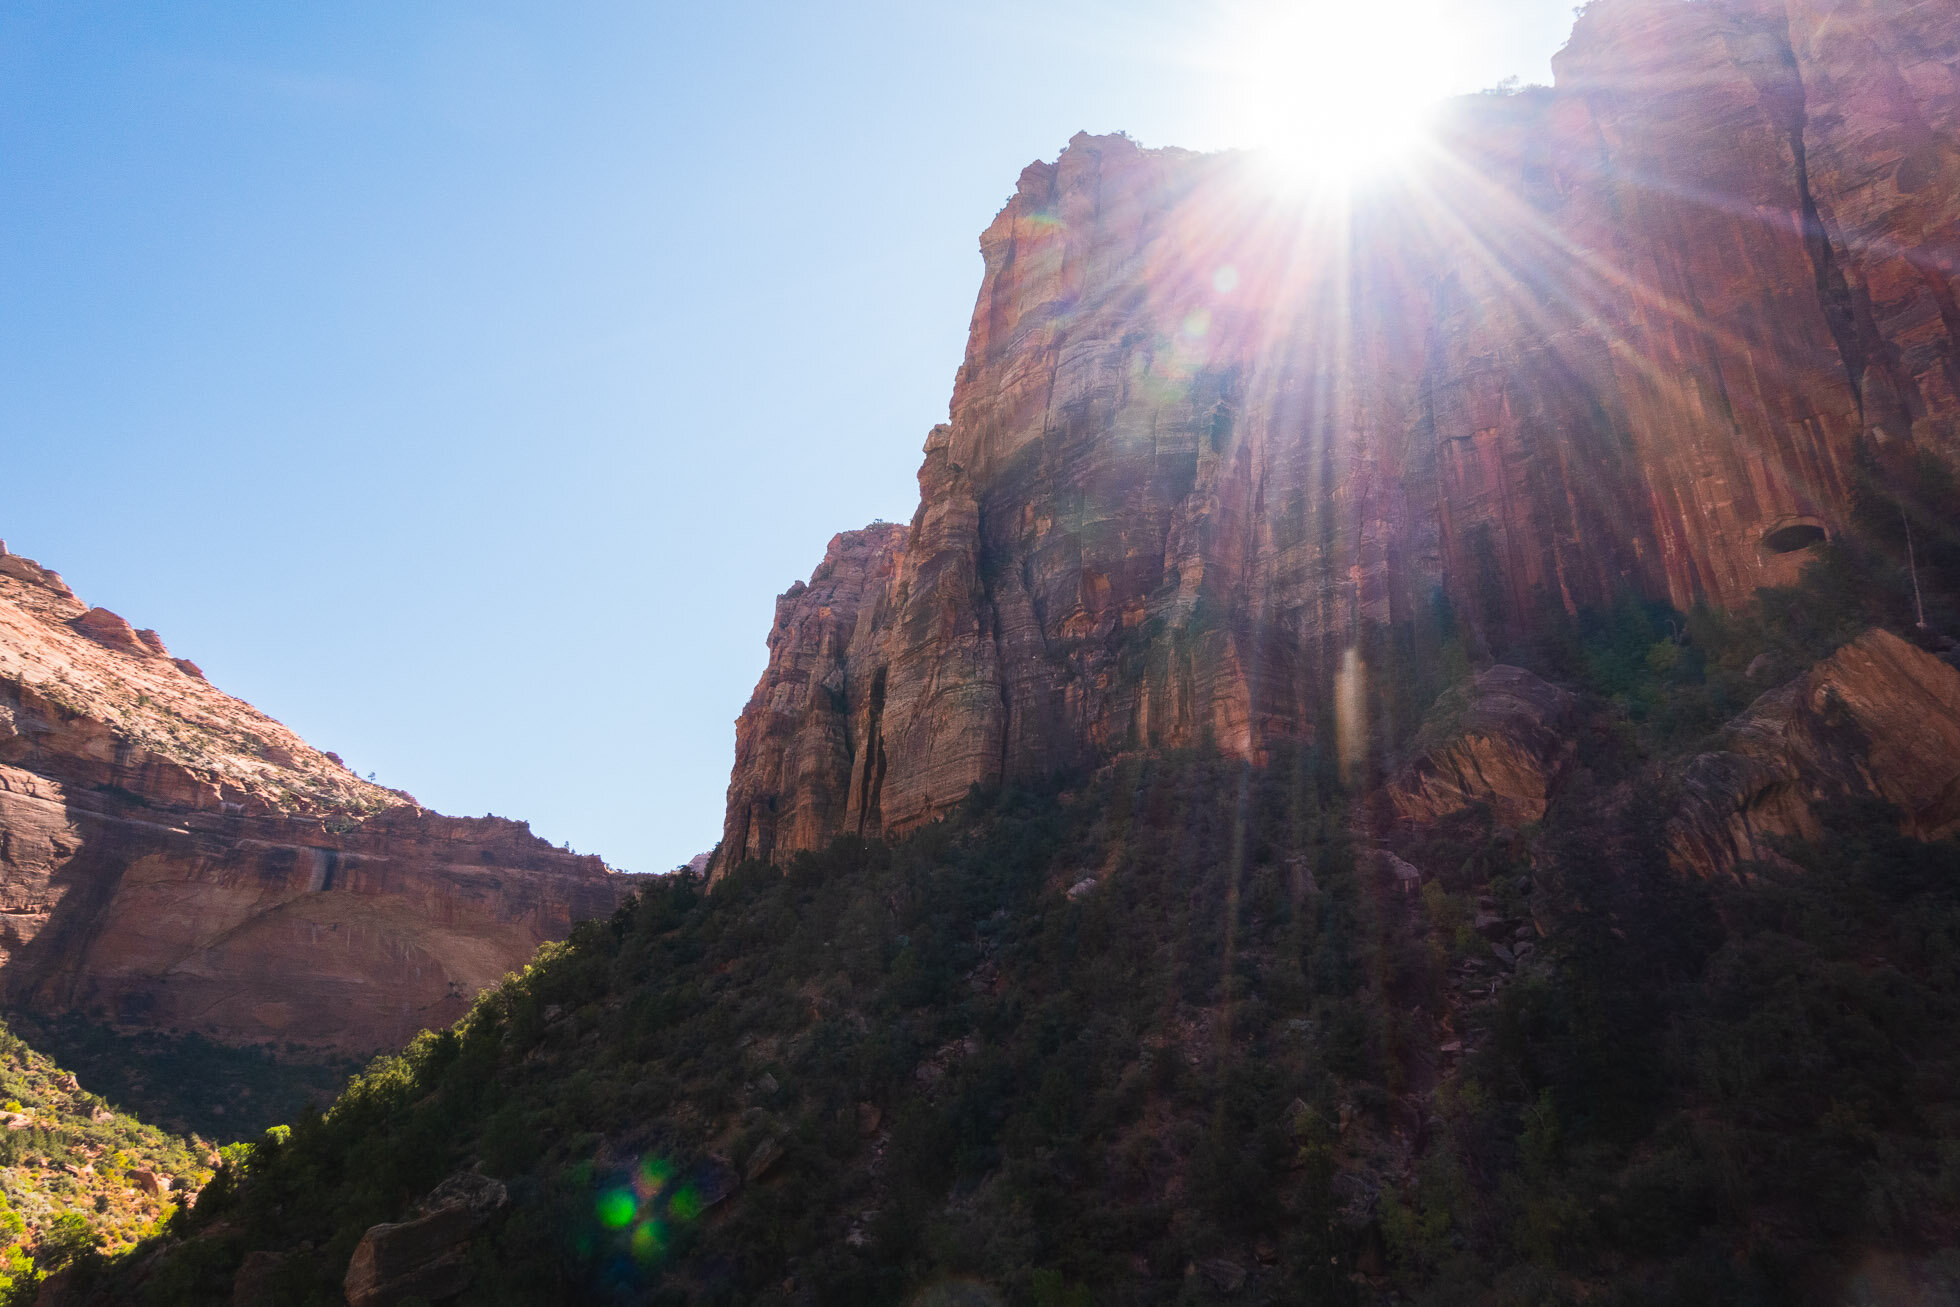
We drove from Bryce Canyon to Zion National Park, entering the park from the east end, on Zion Mt Carmel Highway. This allowed us to enjoy a scenic drive through a section of the park, getting in some sites before we started our hikes, driving on the red pavement. It was still prime season for Zion, so driving through the park to each of the hiking spots was prohibited, and parking was only available at the Visitor’s center (which gets full quickly!) Thankfully, they have a shuttle, but also - our hotel was less than a mile from the park entrance!
After parking at our hotel, we walked to lunch with our backpacks full and our trekking poles ready. We decided that for the afternoon, we would hike the Narrows up the Virgin River. While we would have a limited time and knew we would not do the full 10 miles (!!!), we also didn’t know what the next day would hold weather-wise/flash flood potential (spoiler alert: it was totally sunny), but we were also heading to Vegas right after our morning hikes the next day. And we did not want to do that after hiking through a river.
PRO TIP: Before you walk to the park entrance, there’s an outfitter…it's important to STOP HERE if you’re hiking the Narrows! At the outfitter, you can rent the water hiking boots and neoprene socks. They will also give you a wooden hiking pole to use…we opted to use our own poles (more on that later). I can’t state this enough: you NEED the water hiking boots and neoprene socks. Not just any random hiking shoe that you can take in water. Not water shoes that you wear on the beach. You need legit hiking boots for forging through a river. The outfitter charged $25 a person, for the day - and it was money so well spent! We were also sure to wear quick-dry clothing - Columbia pants and shirts for the win!
After entering the park, we jumped on the shuttle to take us to the Temple of Sinawava, starting our hike via the Riverside Walk. You read that right…you hike up river. When we started, we pretty much started in the water zig-zagging our way up and hiking on the rocks when they were available. The water was so incredibly clear - I literally have never seen a river so clean and clear...and almost turquoise!
The start of our hike was a little crowded. Most people were wearing gym shoes, sandals…even flip flops. I can tell you that this is a very bad idea. The rocks are slippery! Even with the appropriate footwear, we were working hard to stay upright.
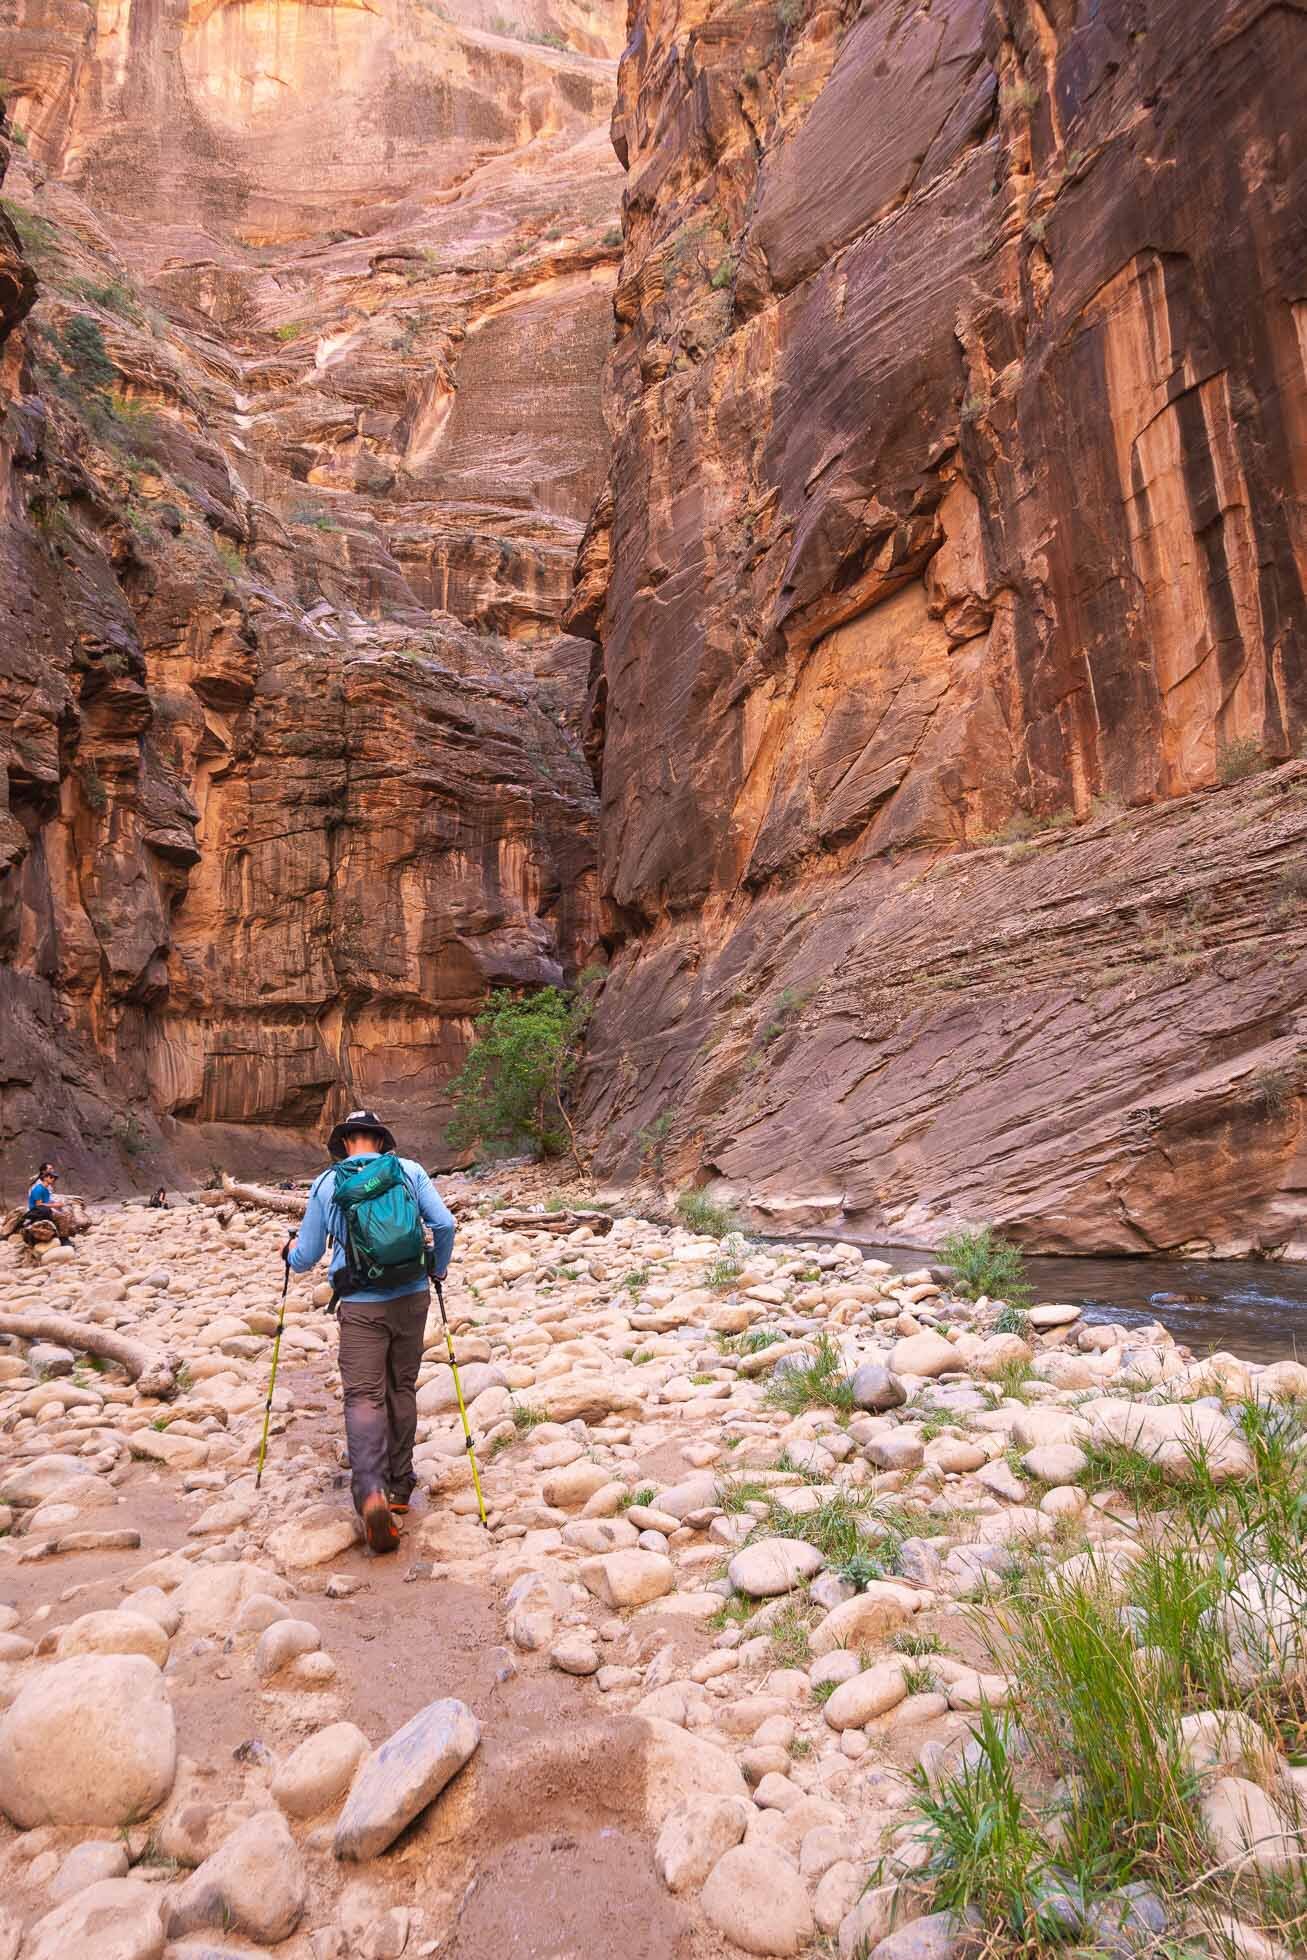
The water was mostly up to our knees, and at times, the highest it got was up the mid-upper thighs. The farther we got up the river, the more the crowds cleared out. We were paying close attention to the time, and decided to make it up to the first truly narrow spot - about 2.5 miles up from the start of our hike.

Hiking was a challenge at times, and required a lot of patience to keep upright. We each had a pair of trekking poles and it didn’t take long to realize that having two poles was much better than one! That said, I was smiling the entire. time. I LOVED this hike - I loved the challenge, I loved that I wasn’t at risk of falling off a cliff, I loved the unique scenery and that it offered something far different than any other hike on this entire trip.
PHOTO TIP: While my DSLR was packed in my husband’s backpack, I didn’t take it out at all. Instead, I relied on my Sony RX100 VI and my iPhone. And my husband wore his GoPro. These were the best options to ensure that we remained upright, and that my camera stayed safe and dry! If I had to do it again, I wouldn’t even pack the DSLR for this hike. It was unnecessary weight to carry with too big of a risk.
We finished the hike by 5:30pm, and quickly got on the shuttle to check in to our hotel, clean up, and grab some dinner nearby!
Mighty 5 Day 7: Morning
We opted to skip sunrise and instead, pack up our suitcases (again…) and have some breakfast before embarking on our last couple of hikes. There were a few hiking trails closed due to rockfall, which meant our options were limited. Also, I refused to do Angel’s Landing…I’m not the most balanced person and after watching a video of that hike, I knew it was not for me! We arrived at the park at about 9am, with the intent of going first to the Lower Emerald Pools. However, the line for the shuttle was LOOOOONG - I’m guessing it was the perfect time for people to hit the Narrows and Angel’s Landing. So instead, we decided to first hike the Watchman trail which was nearby the park entrance (in other words - no shuttle!).
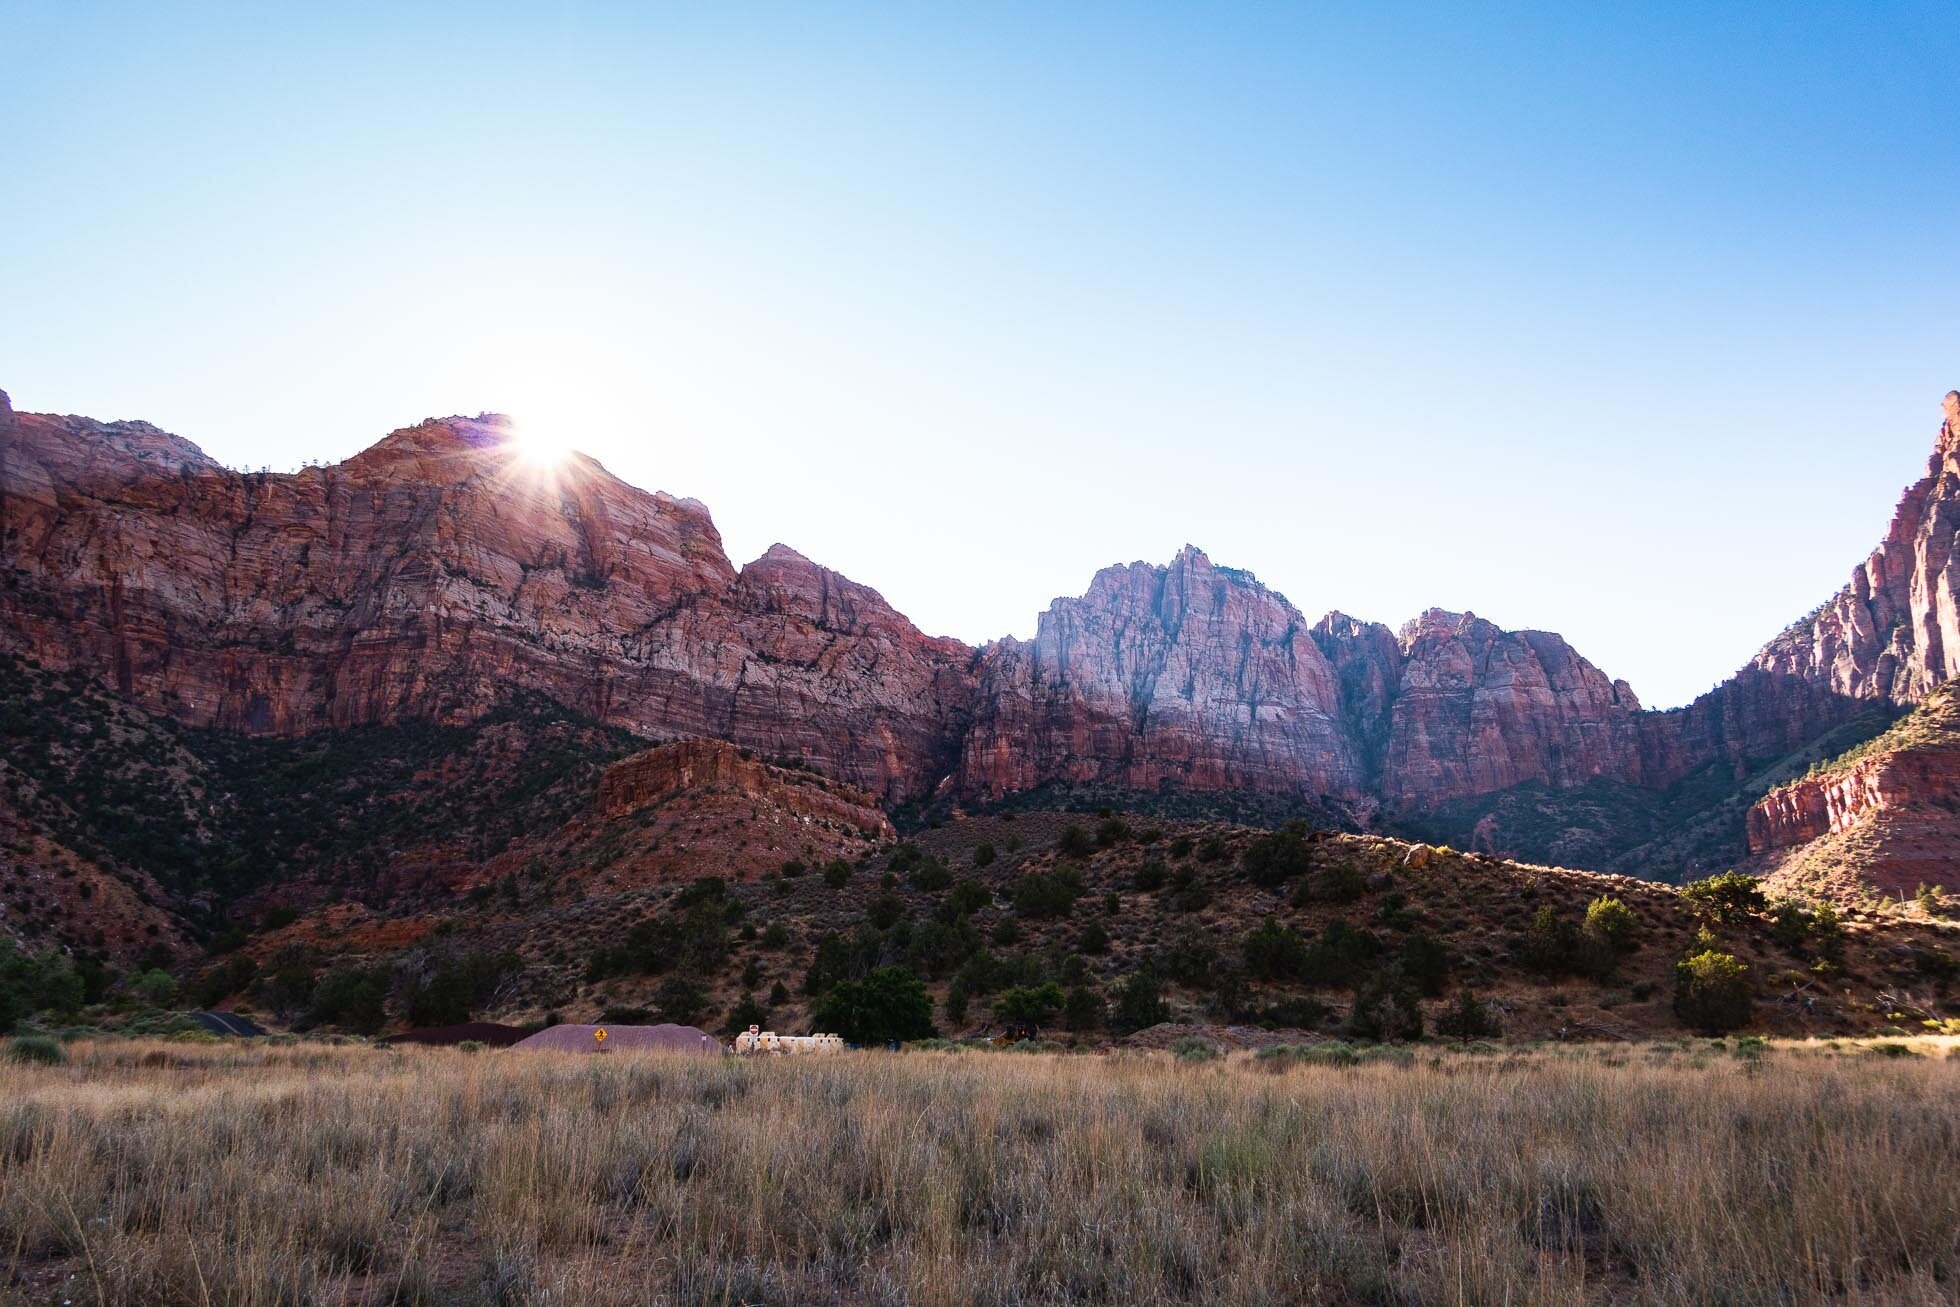
The hike on the Watchman Trail was quiet and serene - much different from the rest of Zion! We hiked along the side of the mountain and up to a panoramic viewing point over the park. This was the perfect hike to do in the morning, before it got too warm. By the time we finished this hike, the skies were a beautiful deep blue and the weather was perfect.

View from the top of the Watchman Trail

Court of the Patriarchs
Thankfully, the shuttle line was non existent by the time we were done, so we could easily hop right on and make our way to the Lower Emerald Pools. The hike was paved the whole way, and a little crowded. Regardless, we enjoy this walk down to the pool and under the glistening waterfall.

When we were done with the hike, we felt a sense of achievement - it was our last hike of our week exploring the Utah Might 5 National Parks. And yes, I may have cried just a teeny tiny bit.
We embarked on more than a dozen hikes in five National Parks - each offering their own unique views, geological formations, and experiences. Though the parks are mighty, each of us can have a lasting impact if we don’t follow the rules, and respect nature. Our National Parks are truly gifts that we need to protect and honor.
Tips that worked for us:
Rent. the. GEAR!
Be flexible and make the most of your time.
Factor in time for the shuttle
Be patient with the crowds (Zion is the most crowded of the Mighty 5)
Notes for next time:
Fingers crossed that more trails will be open!
Try a Zion hike for sunrise
Take more photos on the Narrows!
Visit Kolob Canyons