A Journey Through the Utah Mighty 5: Photographer’s Wrap-Up
Last year, my husband and I decided on the journey through the Utah Mighty 5 as our long vacation. The Mighty 5 are the five National parks in Southern Utah - Arches, Canyonlands, Capitol Reef, Bryce Canyon and Zion. Our trip was a total of 8 days, and we opted to travel from east (Arches National Park) to west (Zion).
CLICK HERE to catch up on my previous posts!
This post is focused on a photographer’s wrap-up - lessons learned, tips for and notes for next time, recommendations, etc for traveling the Utah Mighty 5. I spent the past few posts talking about each of the parks individually and what I wanted to do was wrap up all of the five parks that we visited and put it into a summary with the perspective of a photographer who is on vacation…which is far different from a photographer who's on a photography-specific trip.
Plans
So first things first! With this trip we did some planning around some of the hikes that we would go on, but it wasn't so strict that we couldn't modify if needed. It was, however, formed in a way that we were going to certain parks on certain days and that was something we could not adjust simply because of the amount of time to drive between the parks, as well as the lodging which was in limited supply. We took this trip in a week - and honestly, that’s the minimum amount of time I would recommend to anyone looking to take this trip.
My planning recommendations:
Determine direction - west to east, or east to west
Book lodging or campsites early!
Research the parks to find your preferred hikes
Get sample itineraries. Some helpful sites include Visit Utah and National Geographic.
Set times for departing to the next town, and allow for some flexibility…and exploring!
Equipment
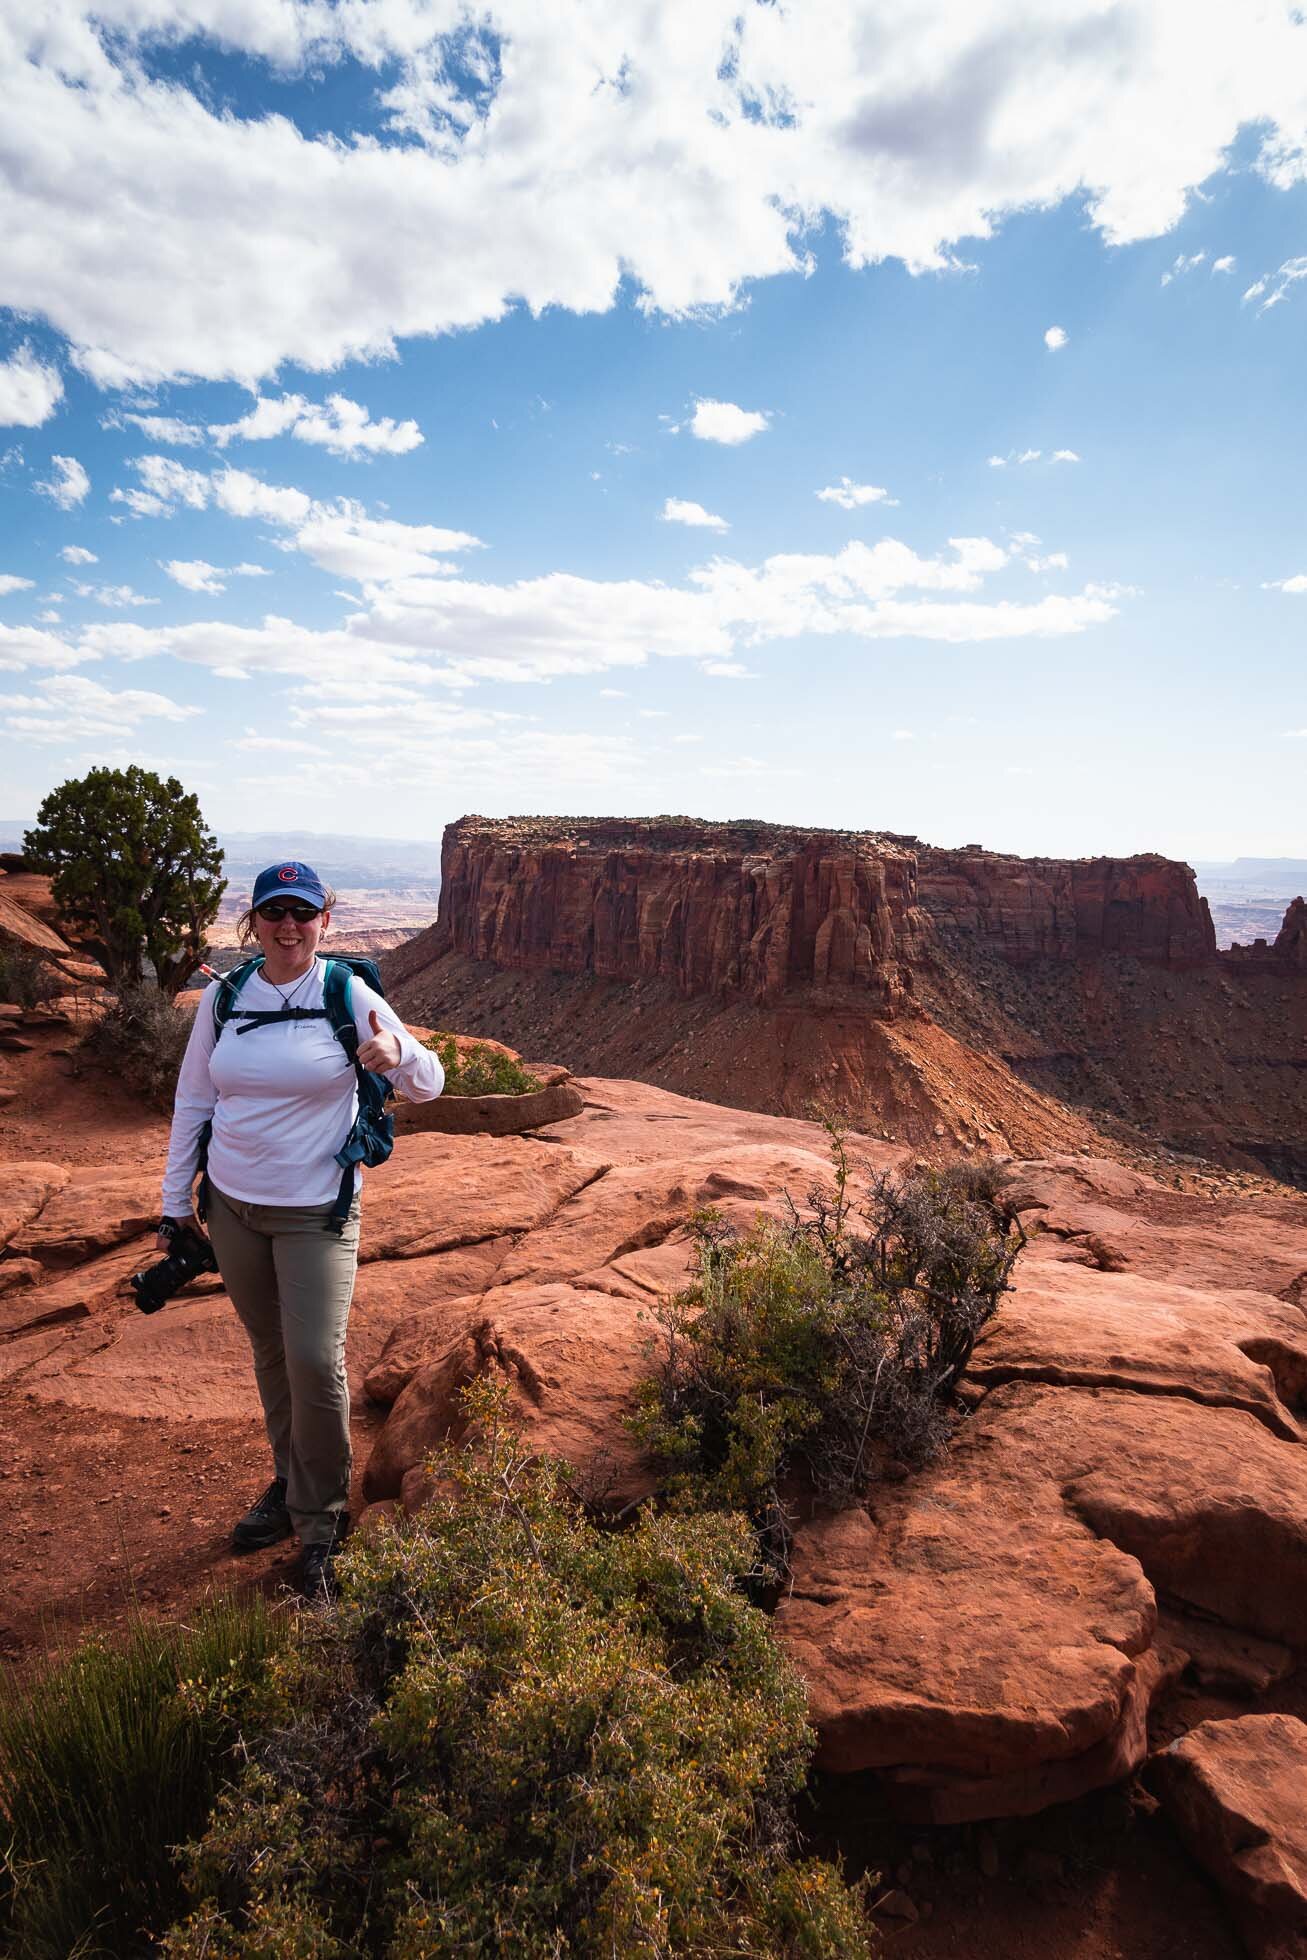
Before the Utah Mighty 5 trip, I made sure that I shopped for a backpack that would be able to carry the limited camera equipment that I wanted to take as well as the supplies I needed for the actual day hiking trips. While we were going to be taking some photos, of course we were also going to be a hiking and enjoying the landscapes around us, which means I had to have a frame of mind that would allow me to just really enjoy the trip. This backpack had to hold the hiking essentials such as a water reservoir and hiking poles, rain jacket, snacks, wallet…in addition to my DSLR camera with my 24-70 mm lens, at a minimum. I went to REI and talked with one of the associates about the various backpack options. Of course I did some research online but when it comes down to it, the backpack that you pick really has to work with your body type, the types of hikes you're going on, and what you plan to carry and the amount of weight that you can carry. The sales person was so helpful in fitting me for the right backpack and was a fellow photographer…so he understood the challenges I was going to face! That said, by the time we got to Utah, within the first couple of days my husband ended up carrying my camera in his backpack. (He wins for husband of the year!)

As for my camera gear, I packed along my Canon 6D Mark II DSLR, my Tamron 24-70mm G2 lens as well as my Canon 40 mm pancake lens. It was important to me that I kept my camera gear generally to a minimum, however I did also bring along with me a new Sony RX100 VI, a compact super-zoom camera. This was perfect for all those moments when I didn't want to necessarily haul out the large camera or I needed to have something very easy in the front waist pocket of my backpack. It also allowed me to have a reasonable back up, if for any reason my Canon failed (it didn’t!). The Sony RX100 VI also gave me that extra zoom reach, if I wanted it. I also took with me my MeFoto Road Tripper Tripod for sunrise and sunset shots. This was a tripod that I've had for a while it's very easy to use and it's fairly lightweight so it was perfect for this trip.

TIP: One thing that I forgot to do was change the time on my cameras. It wasn't until about halfway through the trip when I noticed that I did not change the clock on either of my cameras and they both happen to be at different times and so trying to go through the photos and understand when we were at at which point at which point in time has made it very challenging after the fact.
I also packed other standard equipment - extra batteries and charger, extra SD cards, camera cleaning kit, Breakthrough filters (one polarizing filter, one graduated ND filter), hand grip strap, and a Tenba BYOB bag, which inserted perfectly into my backpack while keeping my camera cushioned and safe!
Attire
I had to make sure I had comfortable clothing for hiking and for photography…with UV protection. And lots of layers! There are so many options out there, but I came prepared with hats, shirts with UV protections, collapsible down coat, and my Columbia Anytime Bootcut pants (SOOOO comfortable and lightweight!).
During the trip we also planned for which days we would do sunrise or sunset at each park. I tried to be lenient with this - although I realize each day brings only one sunrise and only one sunset, I also wanted to make sure that I was enjoying this trip because, after all, it was a vacation. Getting a few hours of sleep each night just didn’t sound appealing to me! We made it for sunrise at Mesa Arch (Canyonlands) and Sunrise Point (Bryce). We watched sunsets at the Delicate Arch (Arches) and Bryce Canyon. Unfortunately, for the nights we would have been up for watching the stars, the skies were overcast. Therefore, stargazing and astrophotography will be a goal for next time!
Getting - and staying - Organized!
Admittedly, I’m not the most organized person when it comes to my own stuff. However, since we were frequently moving from one lodge to next, staying organized helped make the trip less stressful and more enjoyable.
The biggest recommendation I could share is this: Pack your camera gear, with charged batteries, every night before going to bed. Seriously. It makes the mornings much easier…and you don’t have to worry about forgetting an extra battery…or your camera altogether! Honestly, this is probably a good recommendation for life, in general, but one step at a time.
Also, always have your maps ready to go and know where you’re heading! I printed directions for each day because cell phone service, and GPS, is non-existent for much of the trip. WiFi is also hard to come by, or it’s slow. Which, honestly, is fine by me. Unplugging for a week while enjoying nature is refreshing.

More tips and suggestions:
Talk to strangers! So many are making the same Utah Mighty 5 journey! Share advice, stories, recommendations…we learned so much from just talking to fellow travelers.
Find a place to do laundry. Seriously. Trust me on this one. And jump on the machines as soon as you can…you won’t be the only one needing to wash your dust-covered hiking pants or sweaty shirts.
Especially if you enjoy hiking, invest in high-tech lightweight clothing - quick-dry, UPF protection, easy for layering, etc., etc.
Edit your images as soon as you get back…for real. While I will apply a more artistic treatment to some, I wanted to make sure I could keep copies that fine-tuned the natural colors as I remembered them. Months later, this will be so much harder to do. I created multiple presets - at least one for each park in the Utah Mighty 5. Why one for each park? Well, the geological features are different at every. single. park.
Practice using your equipment - tripod, filters, photography apps, remote, etc. - BEFORE you go on your trip!
Pack the equipment that speaks to YOU as a photographer and artist. Think about what you want to accomplish - do you want to try new techniques…like astrophotography? Great! Pack what you need! Do you want to fine tune and practice your existing skills? That’s great too! I fell more in line with this one…it is SO EASY to be so inspired by others’ photos from these parks that you feel anxious for not having the equipment you think you should have. I made the decision, about halfway through the process, that I would take the minimalist approach to my gear and work with what I have. And it was freeing.
Buy an annual park pass. Honestly. It’s $80 a year and admits up to 4 adults per vehicle.